Showing posts with label nikon D300s. Show all posts
Showing posts with label nikon D300s. Show all posts
10.6.14
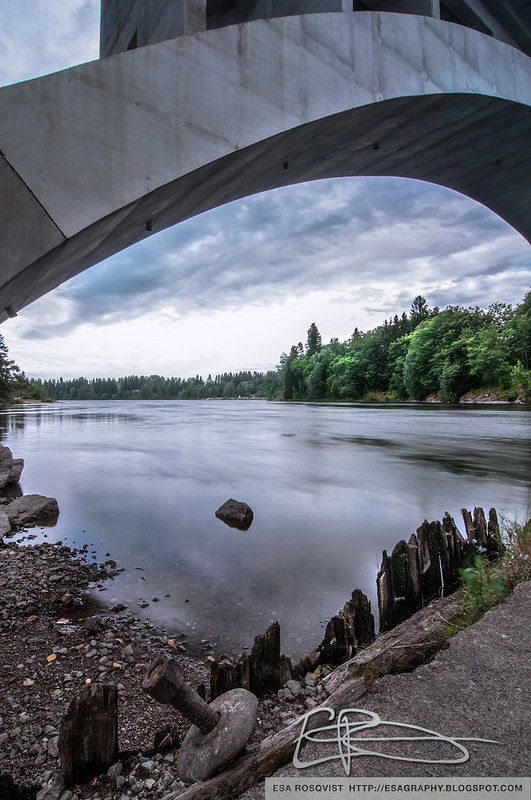
Favourite spot
I was browsing through my photo library, and I found one decent unedited photo ( actually plenty of them ), from one of my favourite locations, under the bridge. This place can actually be seen from my previous post. Without further ado, here you go!

12.3.14
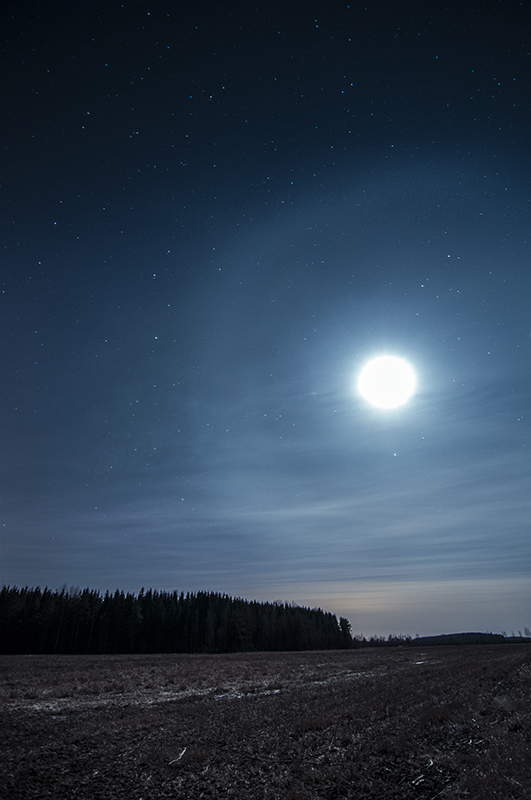
The Moon Halo
Usually I hate the moon, but today is an exception. The moon made a dim halo to the sky which I found rather cool! My facebook page also hit 200 likes today, so this post is to celebrate those thumbs you've given me, THANK YOU SO MUCH! In case you don't already like my page please do it HERE

10.3.14
Astro remake
Hello people! Like usually "it's been quiet for a while". I'm not going to lie to you, honestly I've been lazy, and that's all. Last weekend was quite amazing, I had three workshops about astro photography at Kuva&Kamera -fair, and I met one of my biggest idols MIKKO LAGERSTEDT! I also learned a couple of new techniques how to process astro photos, which is super exciting and that's the reason for today's post. I reprocessed one of my personal favourite astro photos, and the difference between these two images is huge. The result with this advanced techinique is incredible, I'm pretty stoked!
 |
| Click to enlarge |
13.11.13
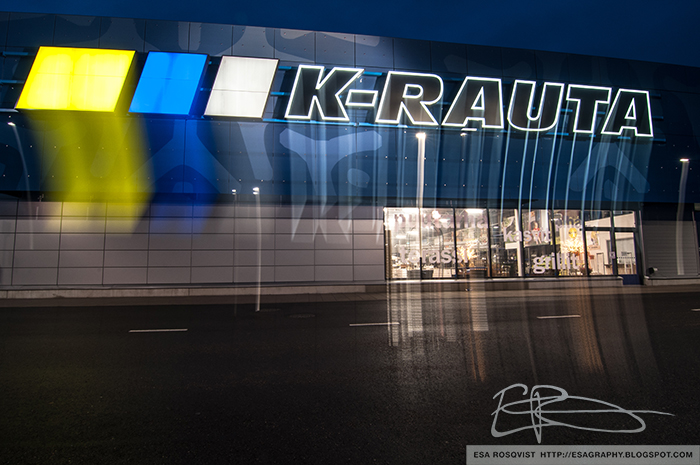
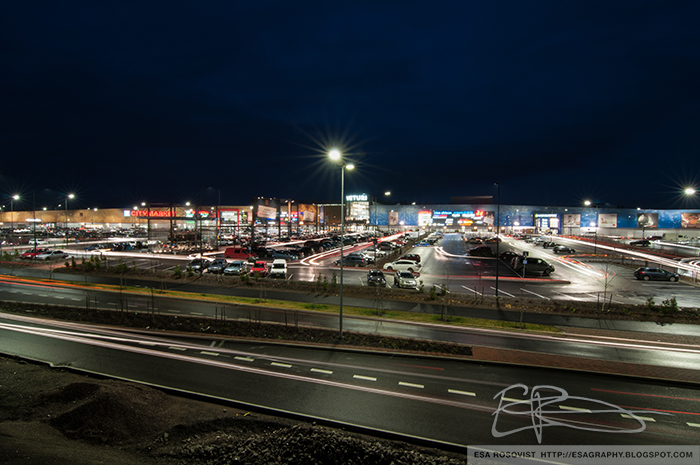
Night photography course
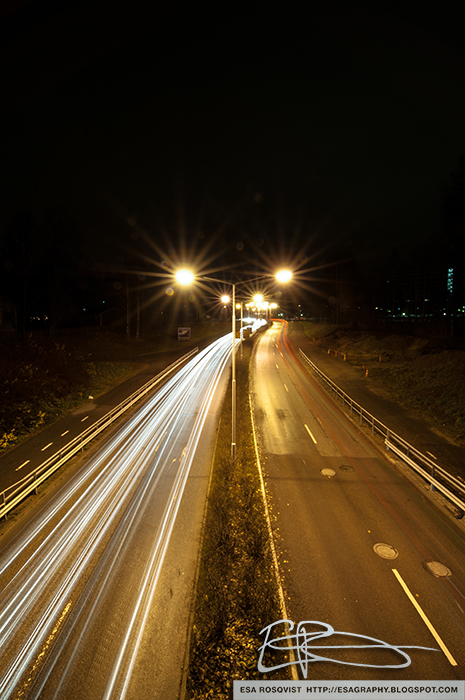
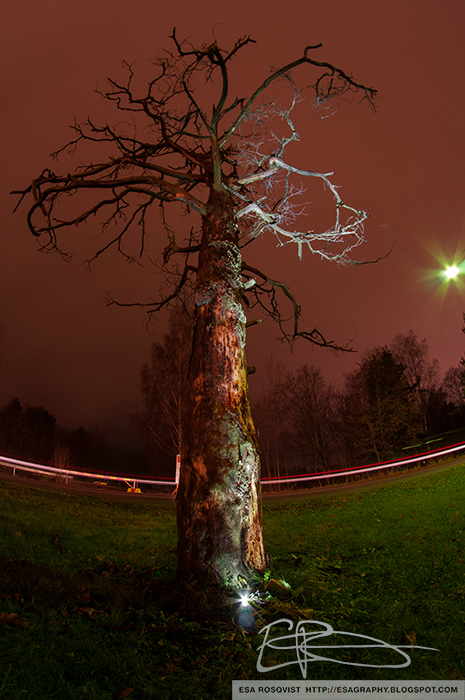
Hello everyone! Once again I've been extremely busy, but I got a little something for you. Here are some photos from another photography course. Thanks for everyone who participated especially our teacher, this has been really interesting course.



15.10.13
Forgotten astro
Lately I've been photographing A LOT, and I totally had forgotten one quite nice astro photo. This one was taken in September. You can see more of the sweet middle part of Milky Way in this photo compared to the previous one I posted, and day by day Milky Way is disappearing beyond the horizon.
camera - Nikon D300S
lens - Tokina 11 - 16mm
exposure time - 30 sec
aperture - f/2.8
iso - 3200
focal lenght - 12mm

camera - Nikon D300S
lens - Tokina 11 - 16mm
exposure time - 30 sec
aperture - f/2.8
iso - 3200
focal lenght - 12mm

9.10.13
Farewell summer
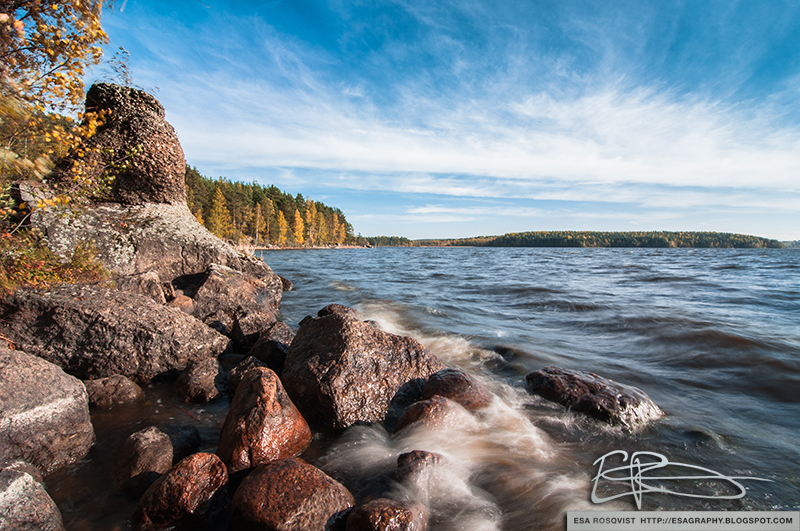
Now I'm 100 % sure that summer has definitely ended. I'm not happy about it because I love summer, but on other hand the autumn colours are one of the most coolest thing we have in Finland. These two photos were taken at a nature photography course, thanks for everyone who participated. I had really nice feedback about these photos from my teacher, his comment was something like this: "hmmmphmm ... hmmmphmmhnm ... There's nothing that I would change, these are ready to be sold".



25.9.13
Surfing
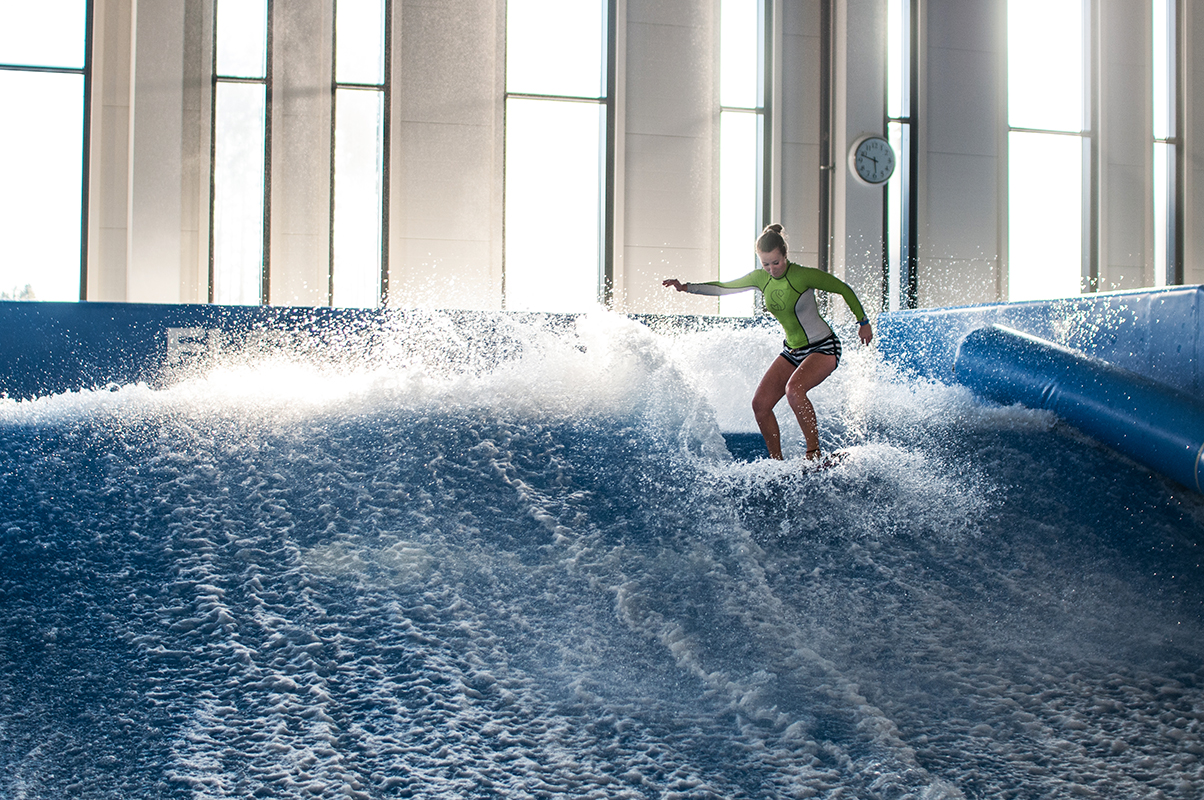
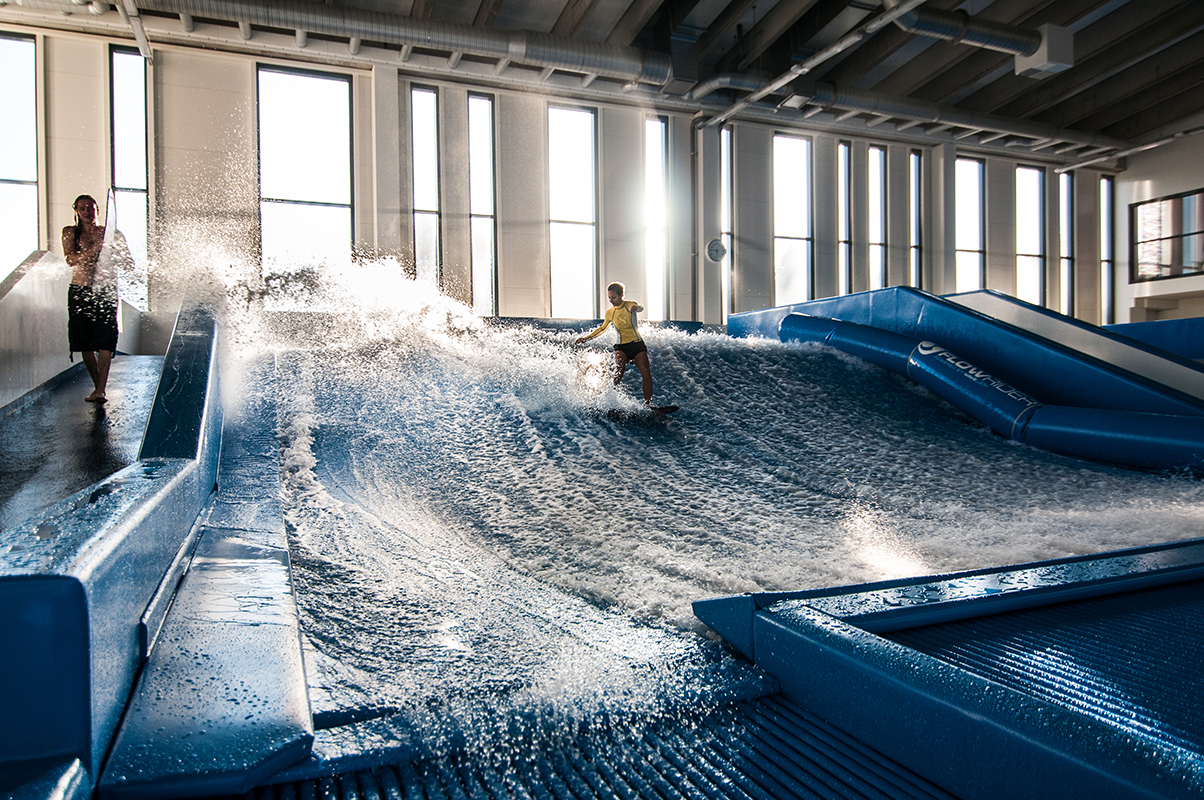
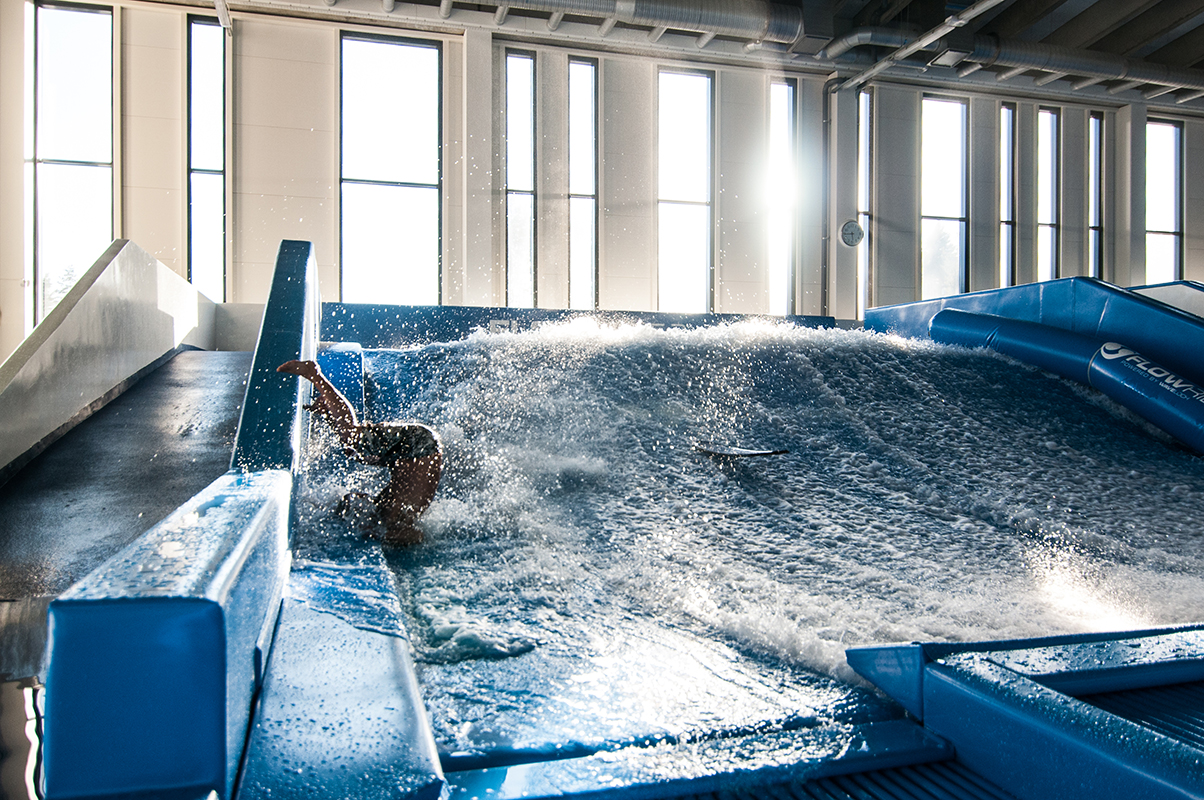
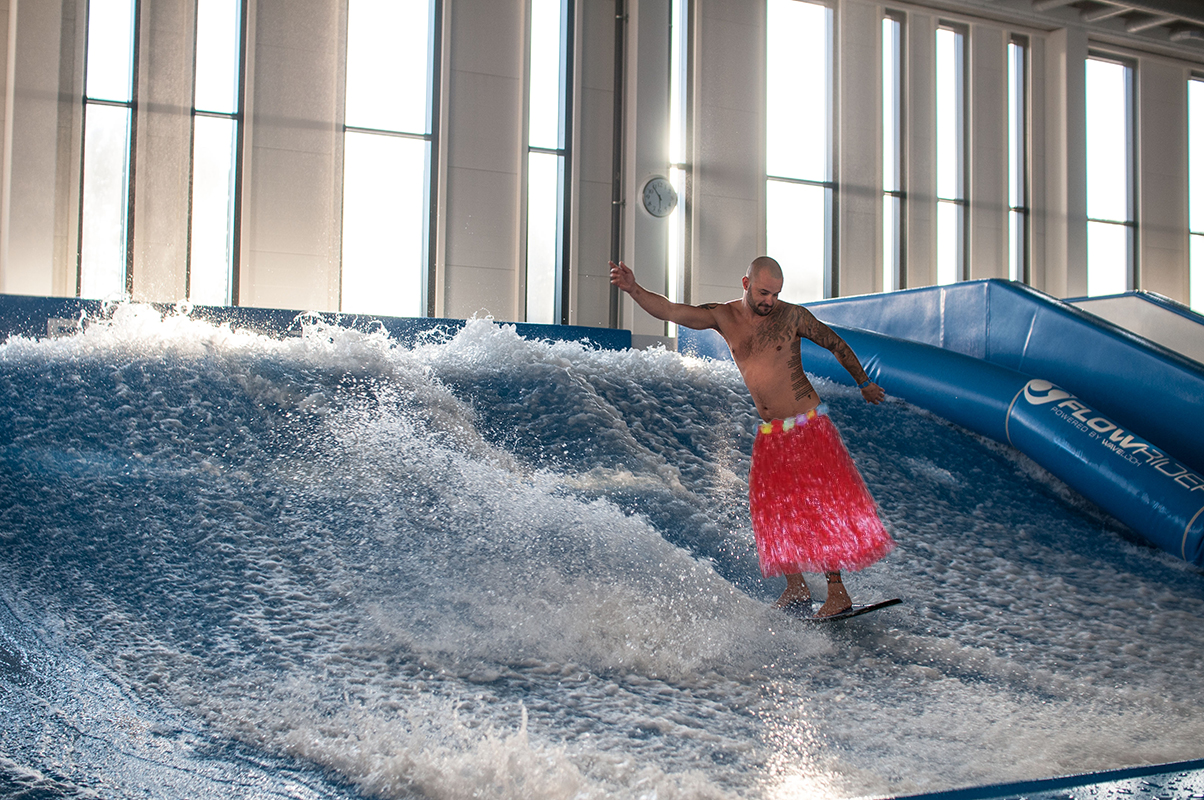
Surfing in Finland ... honestly I would never have though it could be possible to do that in Finland until last week when I was invited to Sirius Sport Resort by my cousin to photograph his "amazing" surfing skills and witness how these three cool surfer chicks showed my cousin and his friend how to REALLY surf. This photo shoot really made my hidden surfer blood to flow in my veins and I'm going there to prove how to surf like a pro (read how to embarrass yourself totally) on Thursday. I guess I nailed the photo shoot pretty well since I managed to make my cousin look like he knows what he is doing ... at least in a few photos :P


After couple of attemps my cousin decided to start "freestyling" (love you bro :D)


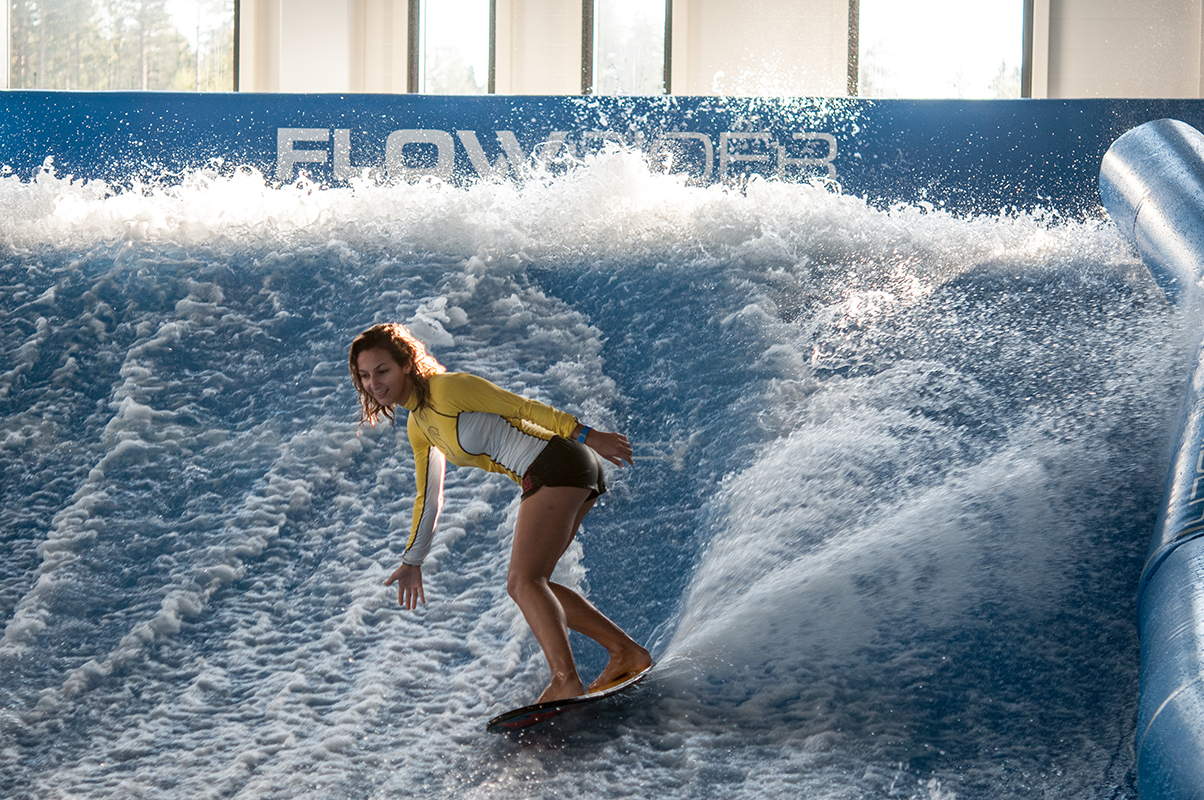

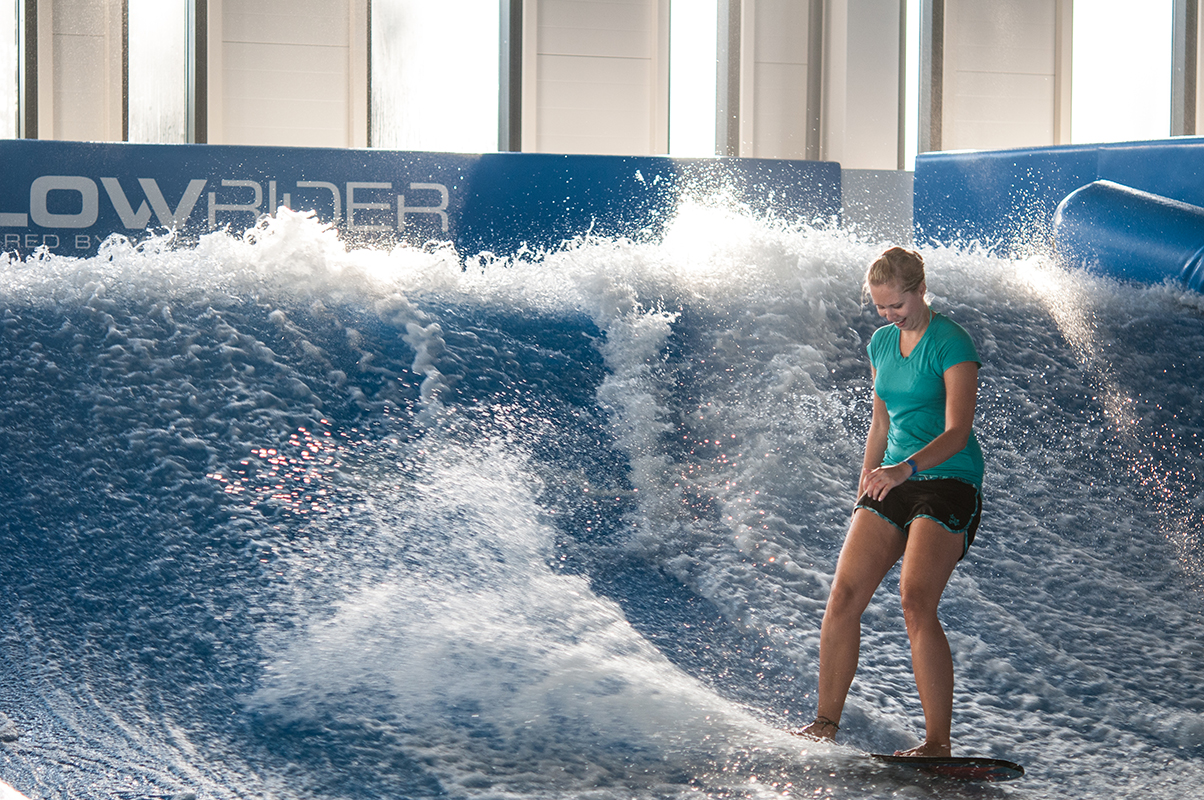
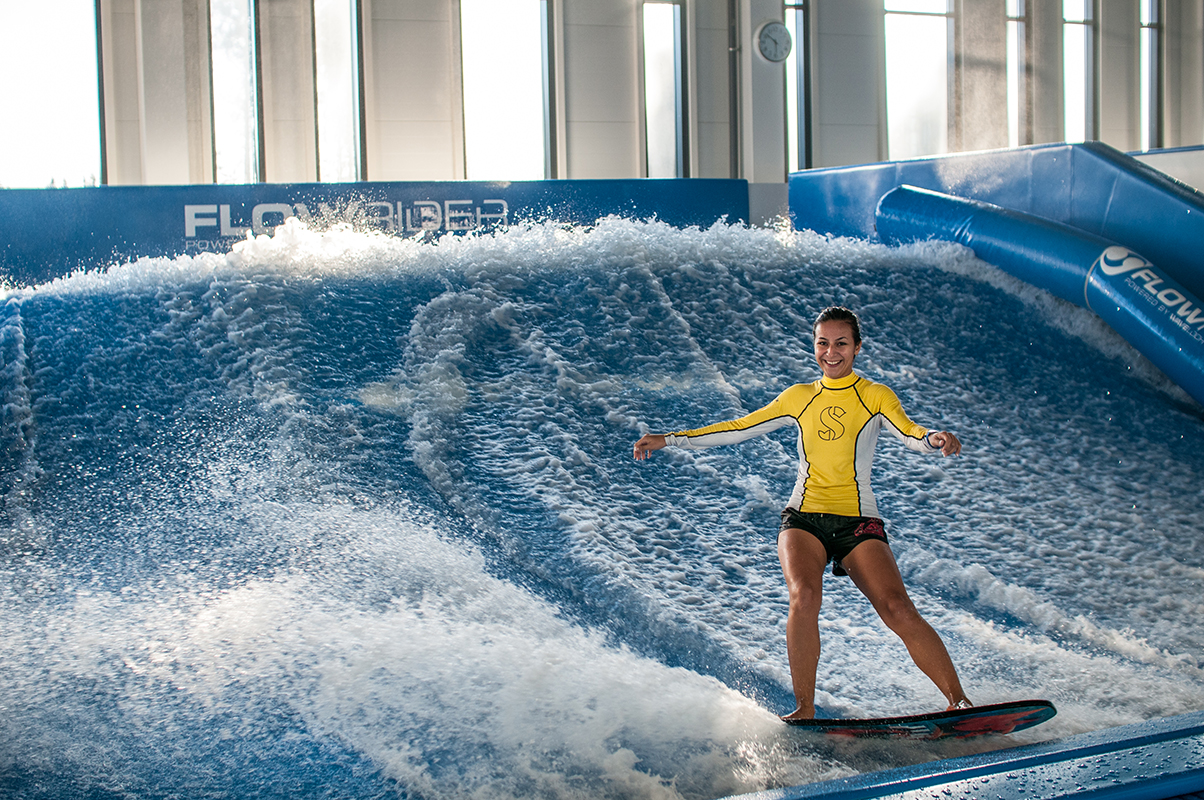

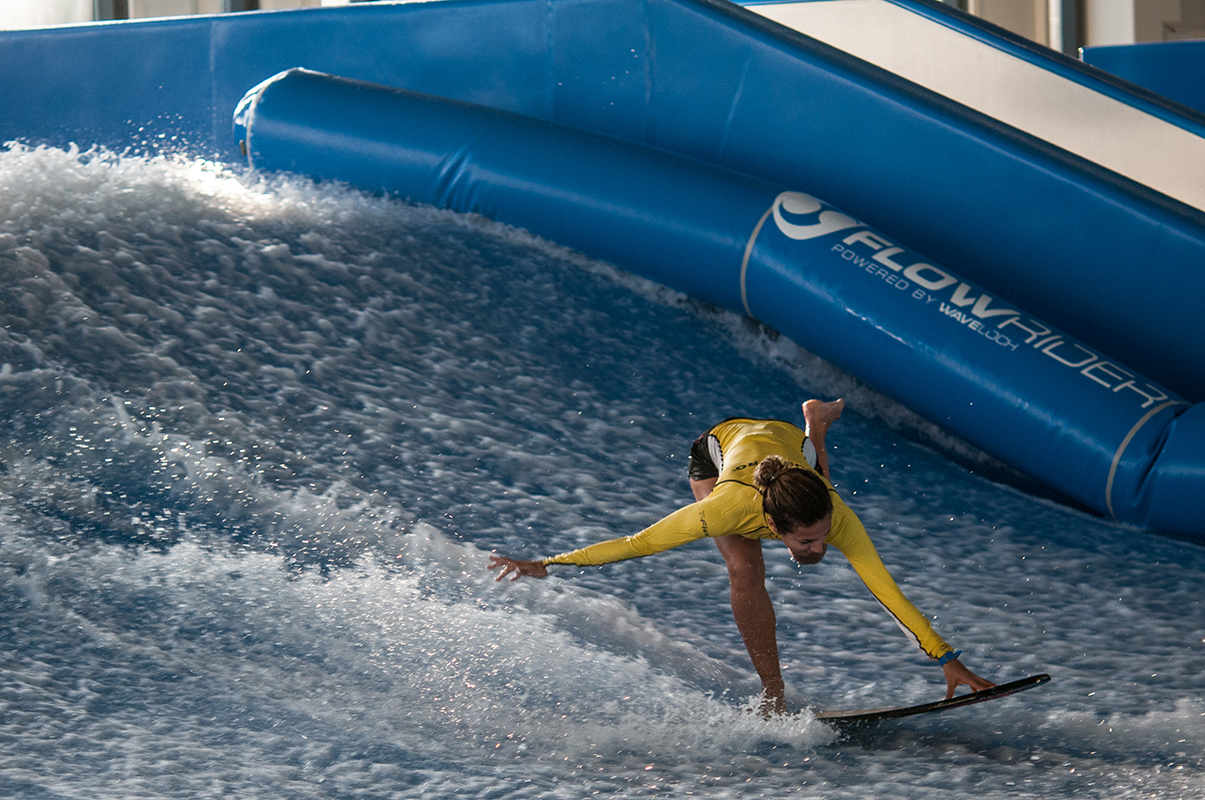
 |
| "sorry" |
After couple of attemps my cousin decided to start "freestyling" (love you bro :D)


17.9.13
Sparkling sunday
Last week I hyped the amazing steelwool photos I took, and now I guess it's decent time to show one of them for you. This is the one you already saw earlier in as the teaser photo. I like this one very much because of the reflection, and there are couple of different photos coming later. This night was extreme, because we didn't just spin steel wool, Leevi was breathing fire as well.


11.9.13
The traveller
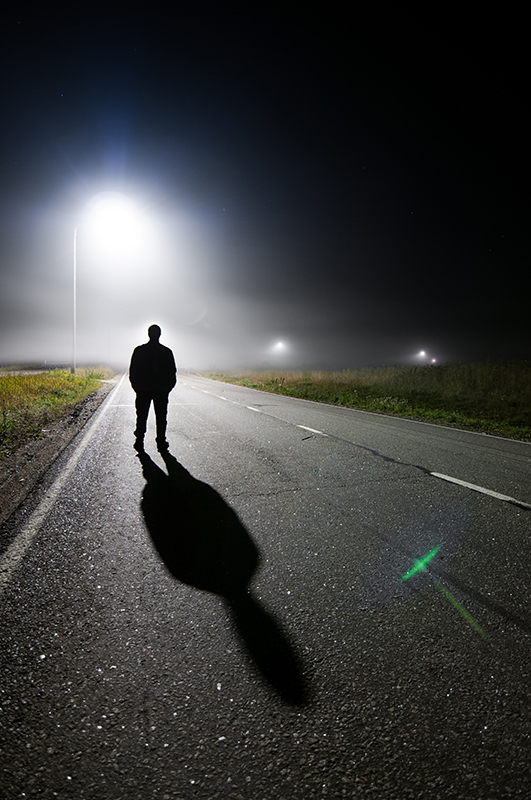
I took some pretty amazing photos on Sunday night but I
won't publish them yet, please be patient. Friday night was also quite
stunning. Having fresh autumn scent in the air and being surrounded by the dark
and mist, that's the kind of stuff I like. It really helps you to clear your
mind, I can honestly recommend going out to the nature at night time for
everyone. I'm glad I spent this amazing night out in the middle of nowhere with
very special company instead of drinking beer in a stuffy bar. We saw the Milky
Way shining and shooting stars flying on the clear sky. However it's not the
time for Milky Way photos yet, it's definitely time for another "lonely
stranger" photo.

27.8.13
Steel w.. what?!
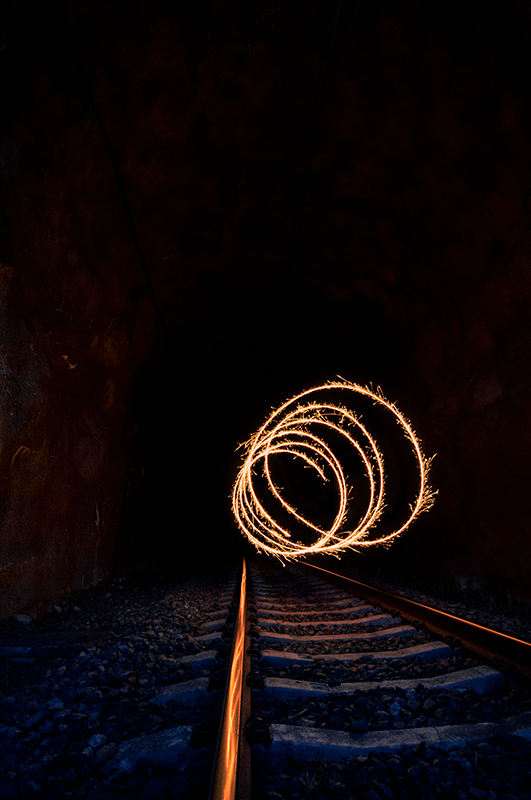
While taking steel wool photos we I had couple of sparklers with me, so instead of burning steel wool there is sparkler burning bright but the main idea still remains. This was very unforgettable night. This railroad is still in active use, so whether there a train coming or not.

23.8.13
Astro lakescape
This is a follow-up for the previous photo, not self-portrait though this time. I was actually trying how far can I go with my iso. This one was taken with iso-1600 and it's still suitable even though my body isn't the most expensive high-end camera.
EXIF:
exposure time - 59 sec
aperture - f/2.8
iso - 1600
focal lenght - 11mm
body - nikon d300s

EXIF:
exposure time - 59 sec
aperture - f/2.8
iso - 1600
focal lenght - 11mm
body - nikon d300s

21.8.13
Perseid self-portrait
Here's a slightly unusual self-portrait taken during the perseid meteor shower last week. The location is my usual astro-spot. I noticed it is still too bright even though there's no Moon on the sky. This photo was taken around 2.30am and you can already see the dawn - conclusion: I still have to wait for darker nights.
EXIF:
exposure time - 105 sec
aperture - f/2.8
iso - 100
focal lenght - 11mm
body - nikon d300s

EXIF:
exposure time - 105 sec
aperture - f/2.8
iso - 100
focal lenght - 11mm
body - nikon d300s

16.8.13

15.8.13
The Wanderer
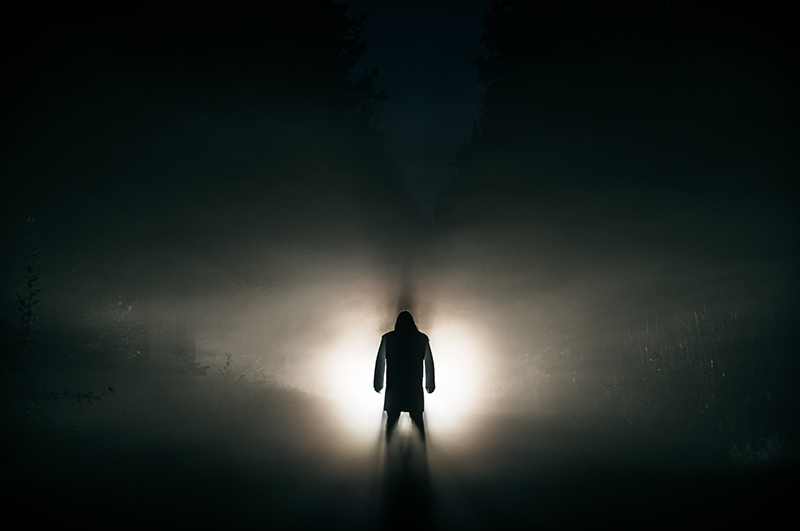
Here's another photo from the stranger photoshoot as I promised. Like I hyped in the previous post I am pretty satisfied with these photos, I have to admit that I still consider these as one of the best photos I've taken so far. The atmosphere is pretty creepy, a lonely man surrounded by the darkness and mist, yikes! Personally I wouldn't like to run into guy like that in similar surroundings in real life.

12.8.13

6.8.13
The stranger
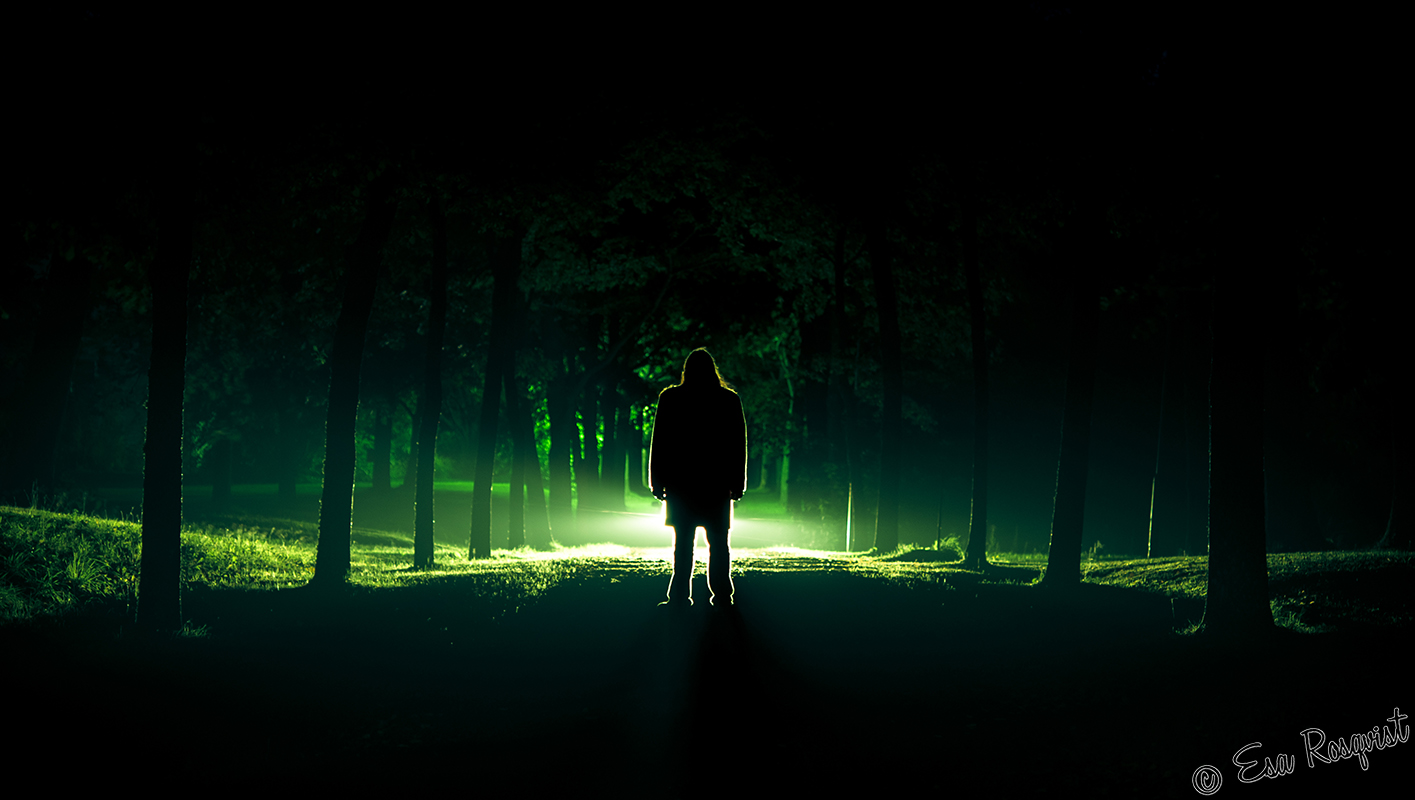
Suddenly last friday night I got call from my friend. He wanted to go out to look for mist to take some photos for his band. This was a very tempting invitation and it took less than a second before I said yes to him. I've been waiting for warm summer days to turn in chilling autumn evenings so I can start photographing stars again. Even though I tried to take some astro photos, it was still too bright in the middle of the night although it was the new Moon, but I succeeded with the mist photos and band photos pretty well. Mist photos will be posted later. Here's one of my best photos taken in my opinion.

24.7.13
Countryside panorama
Earlier this week I decided to try something new, creating a panorama. In search for a perfect spot to take photographs I headed out to the countryside and soon the spot was found. A wide open field with a few eye catching details and nice forest limiting the view. And of course the red barn, typical to the Finnish countryside.
The panorama itself is build from four pictures and all put together with my old friend Photoshop. I also used some radial blur for the sky in order to make it look more dramatic.
The panorama itself is build from four pictures and all put together with my old friend Photoshop. I also used some radial blur for the sky in order to make it look more dramatic.
 |
| Click to enlarge |
22.7.13
Filter try out
Recently I bought ND8 filter. I've never had any sort of filter before, so this was pretty exciting to see how much does the ND8 filter dim the photos. I took this photo around 11pm, the weather was still pretty bright even though the sun had gone to sleep beyond the horizon. I am satisfied with the results, so I will definitely use this filter in the future as well. 30 second exposure makes the surface look pretty smooth, which looks pretty damn cool in my opinion.
EXIF:
Exposure: 30 sec
Aperture: f/11
Iso: 200
Focal lenght: 12mm

EXIF:
Exposure: 30 sec
Aperture: f/11
Iso: 200
Focal lenght: 12mm

8.7.13
Tein itse ja säästin!
EDIT: LISÄÄ TESTIKUVIA UUDEMMASSA POSTAUKSESSA TÄÄLTÄ!
Tuntuu hieman oudolta kirjoittaa suomeksi blogipostausta pitkästä aikaa, syy tälle selviää myöhemmin. Viime aikoina olen ollut erittäin laiska julkaisemaan oikeastaan juuri mitään. Olen toki kuvannut siinä määrin, että näillä kuvilla pystyn varmaan bloggailemaan koko loppukesän, enkä tietysti tähän aio kuvaamista lopettaa vaan jatkaa samaan tahtiin ;)
HUOM. Kaikki kuvat saa suuremmaksi klikkaamalla niitä.
Tämä itse postaus on tutoriaali kuinka voit tehdä itsellesi erittäin edullisesti macrolinssin. Näitä objektiiveja voi tehdä käytännössä niin monta erilaista kun vain keksii linssiksi sopivia lasisia tai muovisia kappaleita. Itse toteutin tämän prototyyppikappaleen melko lailla varman päälle, tässä tapauksessa linssinä toimi käytetyn kertakäyttökameran edessä palvellut pieni muovinen linssi. Muita asiaan sopivia kappaleita voi olla esimerkiksi, luupin linssi, lasin / pullon pohjasta leikattu palanen tai joku muu vääristävä muovin tai lasin palanen.
Kuten aiemmin mainitsin, mahdollisuuksia on siis melkoinen määrä.
Pelkkä pieni muovin tai lasin palanen ei tietysti itsessään riitä. Jollain on estettävä kameran kennolle pääsemästä hajavaloa, ja linssi pitää saada kameraan myöskin kiinni. Tästäkin on olemassa lukuisia määriä erilaisia variaatioita, mutta omasta mielestäni kaikkein varmin tapa ratkaista linssin kiinnitys on tehdä kameran runkotulppaan reikä, ja liimata linssi runkotulppaan kiinni. Jos olet hukannut kamerasi runkotulpan, ei hätää. Ebaystä löytyy todennäköisesti runkoon kuin runkoon sopivia tulppia muutaman euron hintaan (omani maksoi 64 senttiä).
Laatu ei välttämättä ole vastaavaa kuin satojen eurojen macrolinsseissä, mutta hintalaatusuhteeltaan opiskelijabudjetillekin varmasti kelvollinen ratkaisu. Tarkennus on kiinteästi muutaman sentin päässä linssistä, ja zoomista tai automaattitarkennuksesta luonnollisesti on turha edes haaveilla.
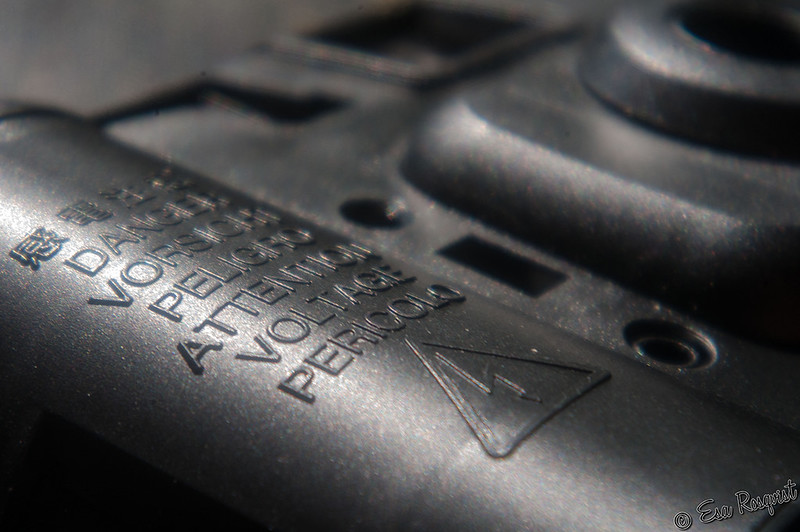
Ensimmäinen työvaihe on luonnollisesti hankkia tarvittavat työkalut ja tarvittavat materiaalit. Minun tapauksessani seuraava vaihe on irrottaa linssi kertakäyttökamerasta. Suurimmassa osassa kameroista on salama, joka tarkoittaa sitä, että kameran sisällä olevasta kondensaattorista saattaa saada kameraa avatessaa pienen sähköiskun, älkää siis säikähtäkö.
Seuraava työvaihe on runkotulppaan sopivan reiän tekeminen. Luovia menetelmiä varmasti löytyy monenlaisia, joskin itse suosin tällä kertaa akkuporakonetta reiän aikaansaamiseksi, ja saksilla reiän kaivertamista sopivan kokoiseksi. Jos työpisteenäsi on olohuoneen pöytä, on suositeltavaa käyttää jonkinlaista alustaa ettei pöytä reikiinny työn yhteydessä. Kaivertaessa reikää sopivan kokoiseksi suosittelen olla kaivertamatta reikää liian isoksi, muuten linssin asennuksessa saattaa tulla ongelmia.
Linssin kiinnittämiseen suosittelen kontakti-, tai pikaliimaa. Vaihtoehtoisesti linssin voi kiinnittää näppärästi jeesus-teipillä runkotulpan sisäpuolelta, kunhan muistaa tehdä linssin kohdalle reiän teippiin. Itse käytin jälkimmäistä vaihtoehtoa, koska hyllyssäni ei sattunut olemaan paperiliimaa parempaa vaihtoehtoa, mutta toistaiseksi vanha kunnon jesari tuntuu palvelevan erinomaisesti. Kaikesta huolimatta suosittelen liimaamisvaihtoehtoa. Linssiä ei ole välttämätöntä kiinnittää symmetrisesti keskelle tulppaa. Kuten kuvasta näkyy, oma linssinikään ei ole millilleen keskellä tulppaa. Kun olet saanut onnistuneesti koko komeuden kasaan, niin objektiivi on testaamista vaille valmis.
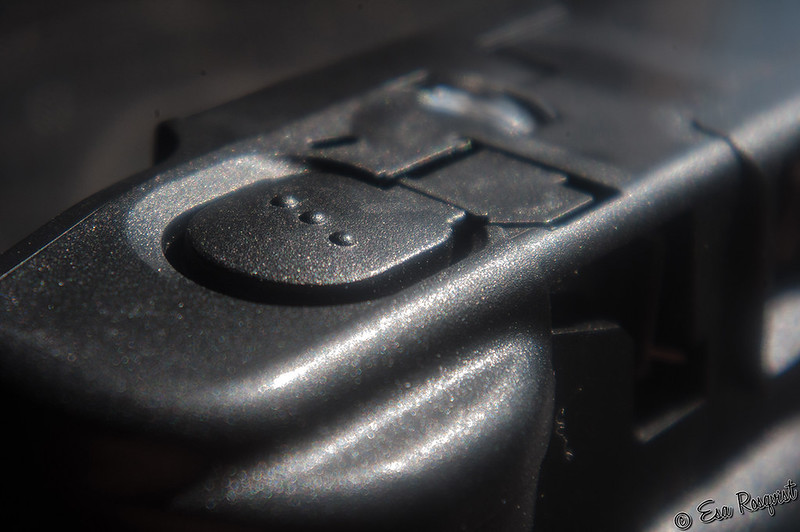
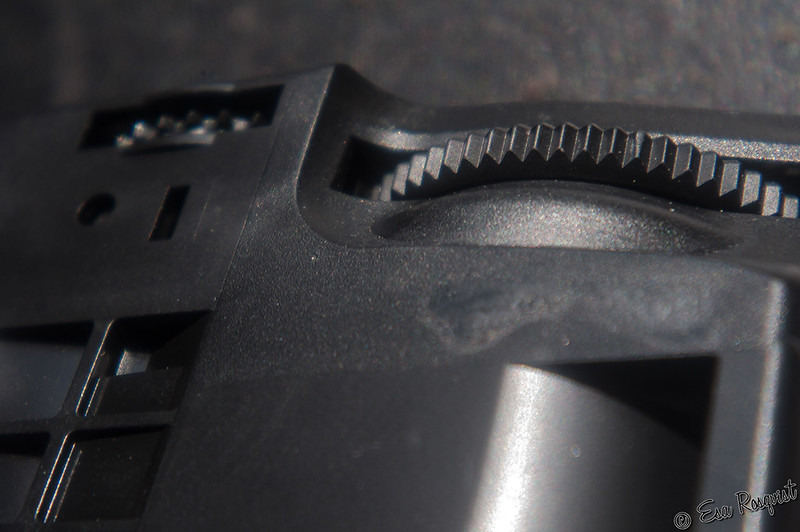
Oma objektiivini onnistui odotusteni mukaisesti, tässä vielä muutama testiotos. Mikä olisikaan parempi kuvauskohde, kun linssin entinen isäntä itse. Olkaa hyvä! :)


Tuntuu hieman oudolta kirjoittaa suomeksi blogipostausta pitkästä aikaa, syy tälle selviää myöhemmin. Viime aikoina olen ollut erittäin laiska julkaisemaan oikeastaan juuri mitään. Olen toki kuvannut siinä määrin, että näillä kuvilla pystyn varmaan bloggailemaan koko loppukesän, enkä tietysti tähän aio kuvaamista lopettaa vaan jatkaa samaan tahtiin ;)
HUOM. Kaikki kuvat saa suuremmaksi klikkaamalla niitä.
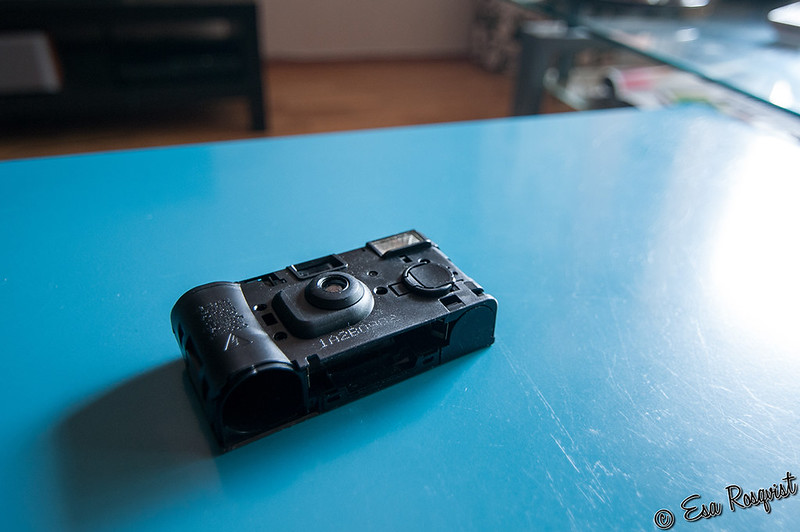 |
| Täydellinen uhri projektiin on esimerkiksi kertakäyttökamera. |
Kuten aiemmin mainitsin, mahdollisuuksia on siis melkoinen määrä.
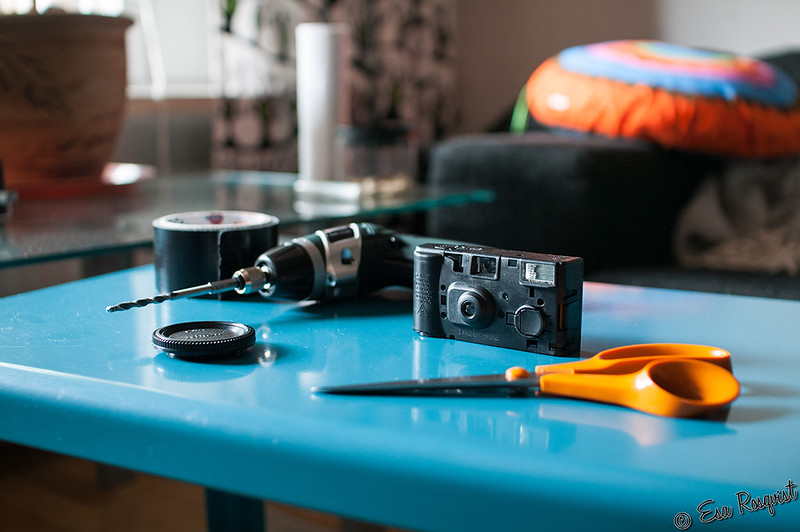 |
| Työkalut ja tarvikkeet! |
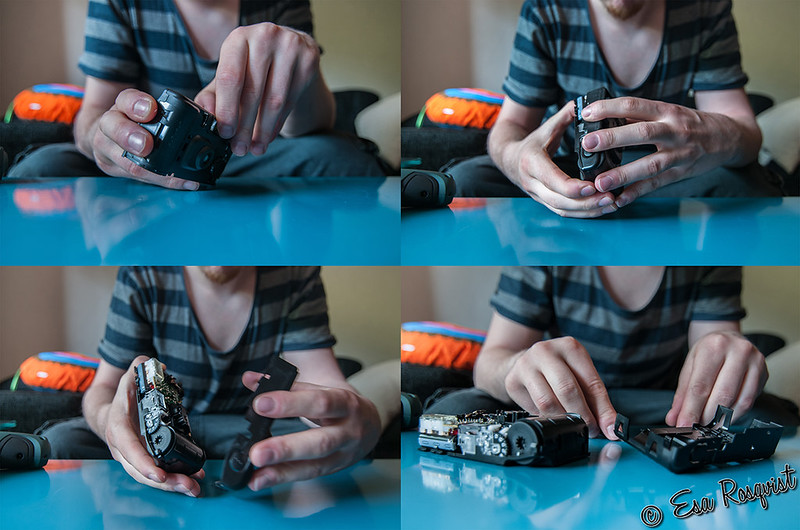 |
| Oma kamerani oli kasassa ainoastaa muovisilla klipseillä, joten linssi saatiin irti todella vaivattomasti. |
Ensimmäinen työvaihe on luonnollisesti hankkia tarvittavat työkalut ja tarvittavat materiaalit. Minun tapauksessani seuraava vaihe on irrottaa linssi kertakäyttökamerasta. Suurimmassa osassa kameroista on salama, joka tarkoittaa sitä, että kameran sisällä olevasta kondensaattorista saattaa saada kameraa avatessaa pienen sähköiskun, älkää siis säikähtäkö.
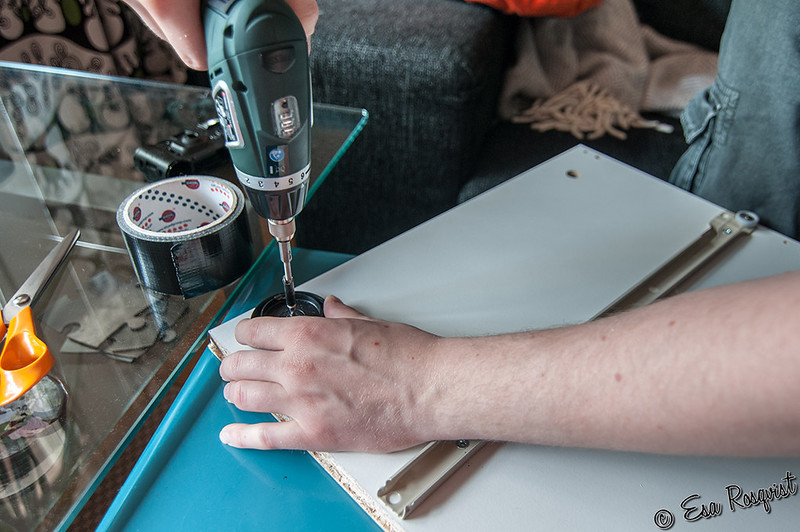 |
| Omasta mielestäni ikean lipaston irronnut sivulevy oli oivallinen alusta poraamista varten. |
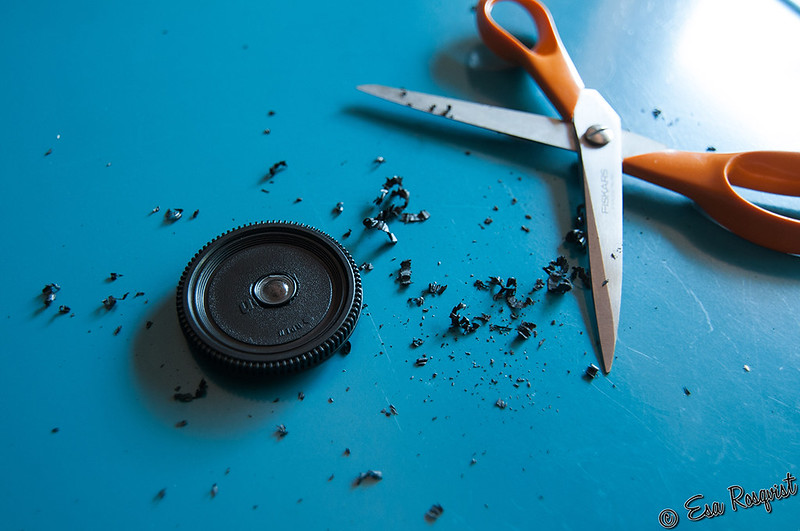 |
| Kas noin linssi on onnistuneesti kiinnitetty runkotulppaan. |
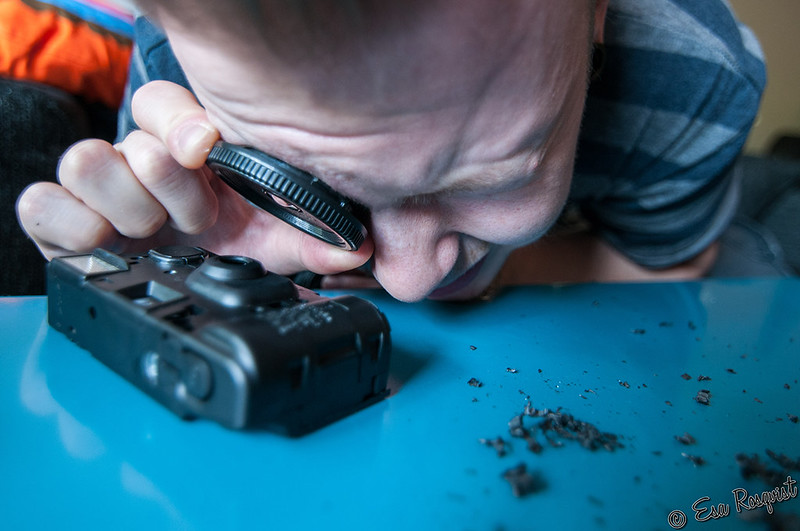 |
| Omassa linssissäni tarkka kohta löytyi muutaman sentin etäisyydeltä. |
 |
| VOILÀ |
Oma objektiivini onnistui odotusteni mukaisesti, tässä vielä muutama testiotos. Mikä olisikaan parempi kuvauskohde, kun linssin entinen isäntä itse. Olkaa hyvä! :)

7.7.13
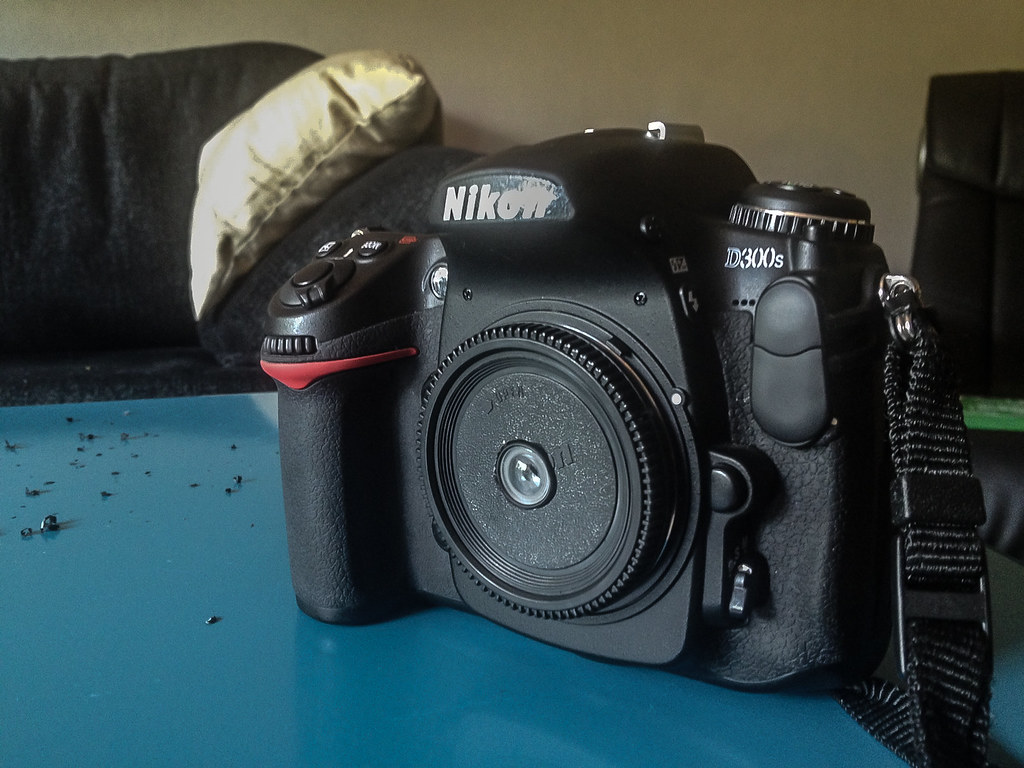
DIY macro lens
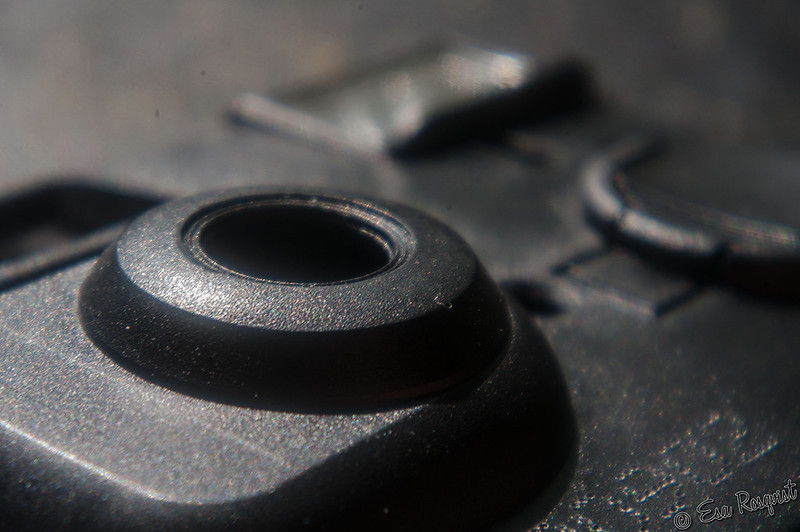
Today I did something very special. As you may have guessed it's diy macro lens. If you are struggling with low budget and want a new lens I got solution for you. The new lens cost me one hour and approximately one euro, so in my opinion it's reasonable price for a new lens. Exceptionally I will post the next post in finnish. It's a tutorial how make one of those diy macro lenses on your own. And the reason why I'm posting it in Finnish will be told later (maybe), but I guarantee it's pretty cool. Here's a photo of the lens, be tuned for more!

Subscribe to:
Posts (Atom)